
A presentation timer is most useful when you decide what must happen before the countdown reaches zero. For a ten-minute slot, that means agreeing on the time available for speaking, setting clear transition points, and rehearsing the actual delivery rather than estimating from the number of slides.
You can use the Our Daily Tools countdown timer for a complete rehearsal. This guide gives you a practical timing plan, explains the remaining-time checkpoints, and shows how to adjust your content when a run takes too long.
1. Decide what your presentation timer includes
Check whether the ten-minute slot includes questions, your introduction by the host, or equipment setup. If you have ten minutes altogether and need two minutes for questions, your spoken material has an eight-minute budget. Write that decision at the top of your outline before starting a rehearsal.
Also define when timing starts. You might press Start with your first sentence, but an organizer may count from the moment you take the floor. Use the same starting point across practice runs so that changes in your method do not look like changes in delivery speed.
2. Build a simple ten-minute timing plan
The example below allows one minute for an opening, six minutes for the explanation and examples, one minute for the conclusion, and two minutes for questions. It is a planning example, not a required structure. Adapt it to your audience and the purpose of the session.
| Section | Budget | Countdown at section end |
|---|---|---|
| Opening and main question | 1 minute | 09:00 |
| Explanation and examples | 6 minutes | 03:00 |
| Conclusion and next step | 1 minute | 02:00 |
| Questions | 2 minutes | 00:00 |
The last column shows remaining time, not elapsed time. When the display reaches 03:00, seven minutes have passed. Mark important checkpoints on your speaker notes, such as beginning the conclusion with three minutes left. This reduces the mental arithmetic you need while addressing the audience.
3. Set the countdown and test the alert
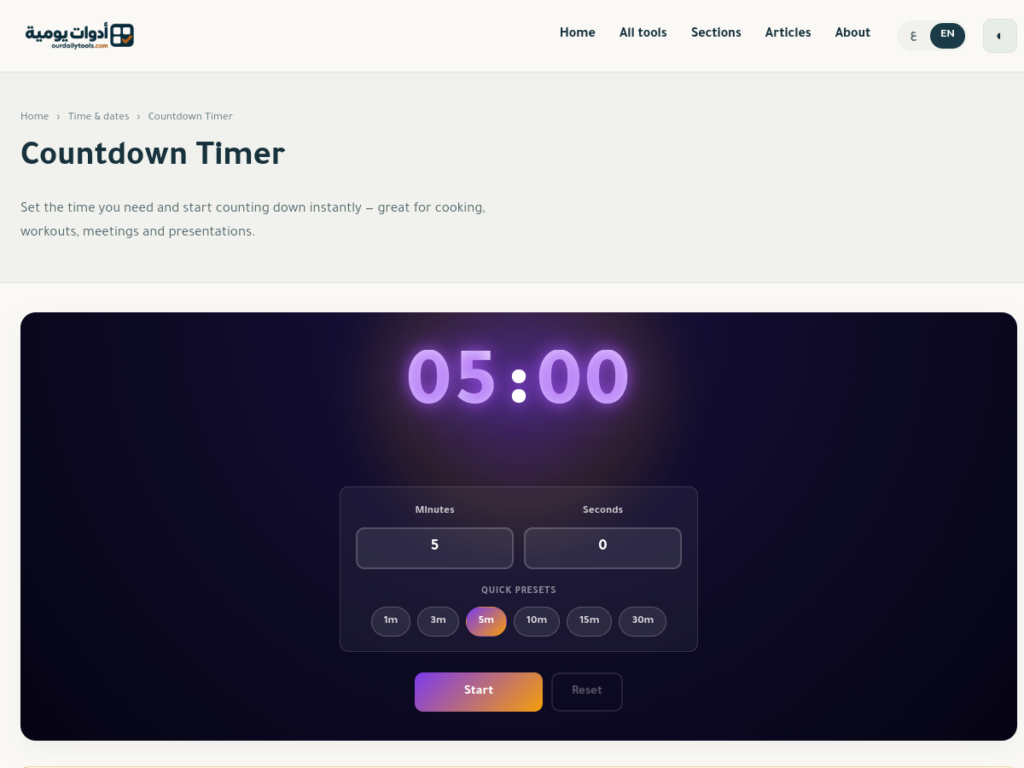
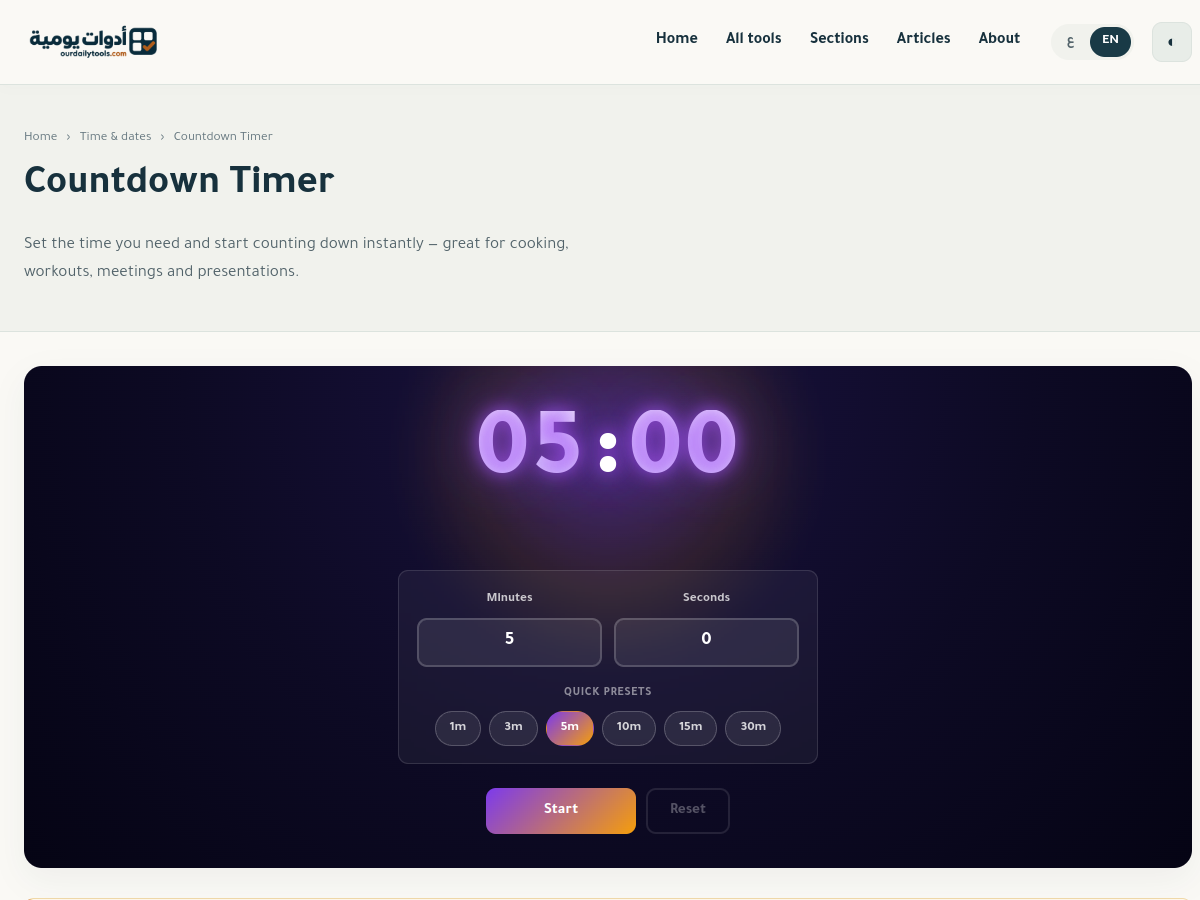
Choose the ten-minute preset, or enter 10 in Minutes and 0 in Seconds, then press Start. The tool also offers quick presets for one, three, five, fifteen, and thirty minutes. Use a custom duration if your organizer gives you a different limit.
Before a full rehearsal, try a ten-second test on the device you intend to use. Check whether you can hear the alert and read the numbers comfortably. Do not assume an alert will override silent mode, background restrictions, or browser audio settings. If you use a second screen, check which window is visible to the audience before you begin sharing.
4. Rehearse aloud and identify the overrun
Deliver the talk with the transitions, demonstrations, and explanations you expect to include. Toastmasters’ speech preparation guidance recommends repeated rehearsal and using a timer to help with pacing. Apply that principle by measuring the spoken performance rather than treating your script length as the final answer.
When a run is too long, note where the overrun begins. An extended opening or complicated example may be the cause. Remove a repeated detail or simplify an example before trying to rush through every sentence. For a separate diagnostic run, use the stopwatch to measure individual sections, then return to a full countdown rehearsal.
5. Prepare a shorter route to the conclusion
Choose one optional example you can skip and a transition sentence that takes you directly to the main conclusion. Keep the essential takeaway intact. A shorter talk should still tell the audience what matters and what to do next, even when supporting details have to be reduced.
If the available slot becomes five minutes, build a fresh plan instead of attempting the entire ten-minute presentation at double speed. One possible practice plan is thirty seconds for the opening, three minutes for the main idea, one minute for the conclusion, and thirty seconds of spare capacity. Test this allocation and change it according to the actual delivery.
Understand the tool’s limits
This is a general countdown, not an automatic slide controller. It does not move through the sections of your outline, generate separate checkpoint signals, or synchronize with your presentation file. You monitor those transitions yourself and reset the duration manually for another run.
Pausing can help during rehearsal, but it does not suspend the time an event organizer measures during a real session. The tool also states that closing the tab or reloading the page stops and resets the countdown. Keep the page open and retain your rehearsal notes separately. For section-by-section analysis, read the lap timer guide.
Frequently asked questions
Should I restart the timer for every slide?
For a complete rehearsal, keep one countdown running through the entire presentation. Restarting for each slide can hide transition time and make the total less realistic.
How many slides fit a 10 minute presentation?
There is no fixed number that suits every talk. A photograph and a detailed chart can need very different explanations. Choose the necessary ideas, rehearse them, and adjust the content to the measured duration.
Will the tool save my rehearsal results?
Do not rely on a stored session history. Write down the checkpoints you missed and the changes you want to make before resetting or leaving the page. Repeat the full run after editing to see whether the revised plan works.