
A two week timetable keeps changing lessons, rooms and equipment clear when your school alternates between Week A and Week B. Knowing that Monday starts with Math is useful only if that is the correct week. A practical setup gives each week its own saved copy and uses the school’s official calendar to decide which copy applies.
The Our Daily Tools school timetable builder provides one weekly grid at a time. You can use it to prepare Week A, export that version, and then edit the grid to prepare Week B. This guide explains that workflow, including how to compare the weeks without assuming the tool has an automatic fortnightly scheduling mode.
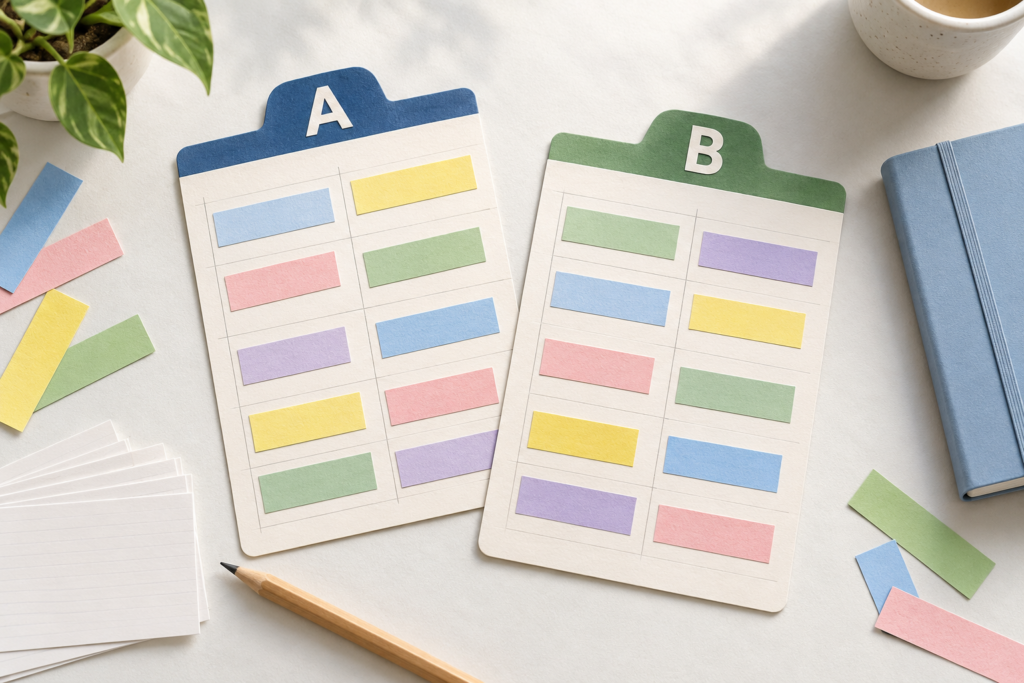
1. Define your school’s two week timetable cycle
A two-week cycle uses two sets of weekly lessons, often labelled A and B. Upper Wharfedale School describes its own Week A and Week B timetable as an example of this arrangement. That does not establish the dates or lesson times for another school: use the calendar and schedule supplied by your own school.
Collect both approved timetables before opening a school timetable template. Record the teaching days, periods, subjects and room codes. Check how the school labels short weeks and weeks around holidays. Do not infer Week A from an odd calendar-week number, or assume the first week after every break restarts the cycle. If the published information is unclear, keep the existing labels and confirm the pattern with the school.
2. Build Week A with the correct lesson times
Choose Student timetable when you are recording your lessons, or Teacher timetable when you need to track the classes you teach. Select the actual school days, enter the number of periods, and set the first period’s start time and lesson length. Set the position and duration of the break, then click Build / update timetable. Fill each cell consistently so subjects, teachers and rooms are easy to distinguish.
For an illustrative short day, enter an 08:00 start, four 45-minute periods, and a 15-minute break after period two. The first periods run 08:00–08:45 and 08:45–09:30. After the break, lessons resume at 09:45, with the remaining periods ending at 10:30 and 11:15. That is 180 minutes of lessons plus 15 minutes of break time. These are invented teaching examples, not a school’s announced hours.
The grid uses the single period length you choose. If your real schedule has unequal lesson lengths or a different break structure, check the displayed times carefully and complete the necessary adjustments in your exported file. To double-check a day’s start and finish, see the guide to calculating hours between two times.
3. List the differences before changing Week B
Compare the approved weeks cell by cell. A change may involve the subject, the room, the teacher, or several of those details. Write a short change list first so you can preserve the lessons that remain the same. This small example shows selected cells in a fictional timetable; it is not a complete school schedule.
| Slot | Week A | Week B |
|---|---|---|
| Monday, period 1 | Math — A1 | Science — Lab 1 |
| Monday, period 2 | English — A2 | English — A2 |
| Wednesday, period 3 | Art — C1 | Computing — IT1 |
Export Week A before making these changes. Then edit the differing cells to build Week B, and compare the unchanged cells as well. The builder does not automatically generate the second week or check the two versions for you. Your change list is the working checklist that keeps a room change from becoming an accidental subject change.
Count subject periods across the full cycle rather than forcing both weeks to look identical. Two sessions in Week A and one in Week B make three sessions over the fortnight. That uneven distribution may be intentional. For a teacher’s version, also check the class or section attached to every lesson and compare it with the approved allocation; a personal grid does not validate the school’s complete staffing schedule.
4. Export and label both versions separately
Use Export Excel to keep an editable copy of each week. Use Export PDF to open the browser’s print workflow and save a PDF where that option is available. Open the downloaded files before clearing cells or making major edits, and check that all days and lesson details are present. A successful download is not proof that you saved the intended version.
Choose distinct names such as Class-2A-Week-A-v1 and Class-2A-Week-B-v1, keeping the extension supplied by the export. Increase the version number when the approved schedule changes. Add a visible week label to the printable document in your editing application if necessary. Colour can help, but the week should remain identifiable in a black-and-white printout.
You can also organize the two versions into separate worksheets in an Excel workbook. Microsoft’s worksheet guide explains adding and renaming sheets; names such as Week A and Week B make the tabs easy to recognize. That is an additional step in your spreadsheet application. Changes made there do not update the website, and the current builder interface does not offer an Excel import control.
5. Match the saved timetable to the current school week
Browser autosave keeps the current working grid on that browser and device. It is not a version archive containing both weeks, and it does not synchronize your timetable across devices. Once you edit the grid into Week B, treat your exported Week A file as the saved reference for the earlier version. Keep both files somewhere you can access when needed.
At the start of the school week, check the official calendar or current school notice and open the matching file. Pay particular attention to lessons requiring different equipment, such as laboratory work or PE, and to changed rooms. When a new notice arrives, update the affected version, change its revision label and share the current copy. Do not apply the change to both weeks unless the notice says it covers both.
Frequently asked questions
Does the builder generate an A/B rotation automatically?
The current interface provides a weekly grid, not a dedicated two-week rotation mode. Prepare one week, export it, and then prepare the other. You can use the resulting files as a fortnightly timetable, but you remain responsible for labelling, comparing and choosing the correct version.
Is Week A always an odd-numbered calendar week?
Do not use that rule without confirmation from your school. A/B labels belong to its published timetable cycle. Holidays, short weeks or timetable changes can make a calendar-based assumption unreliable.
What should I check before printing or viewing on my phone?
Open both saved versions and check their week labels, room codes and lesson text. In print preview, review orientation and margins so every column appears. The builder also offers Export as image if you prefer a quick reference on your phone; keep your editable export separately for later revisions.
Start your two week timetable in the school schedule builder by completing just Week A. Save and inspect it, prepare Week B, and check the differences. Two clearly named files and a reliable school calendar are easier to follow than a single grid that keeps changing without a saved record.